Garage Door Assembly presents an excellent opportunity to enhance your home’s value. Installing a new garage door can boost curb appeal, increase energy efficiency, and introduce a sense of privacy to your space.
Homeowners typically prioritize a garage door that is both user-friendly and safe for their family, pets, and vehicles. The assurance of automatic opening when a keypad is pressed or an automatic opener is activated adds an extra layer of security.
Furthermore, homeowners often seek visually appealing garage doors, choosing to incorporate elements such as windows, patterns, door frames, or decorative hardware.
The cost of a new garage door depends on the chosen style and customization options. Prior to installation, it is important to ascertain the height and width of your garage opening. This will enable you to determine if the door will fit correctly. If the opening is narrow or high, additional adjustments may be necessary.
Here are the steps for assembling a garage door:
- Stacking the Door: Begin by centering and positioning the bottom section within the opening, pressing it against the door stop molding. Use a shim to level it. Place the next section, checking for levelness, and attach it to the previous section. Repeat this process until all sections are assembled.
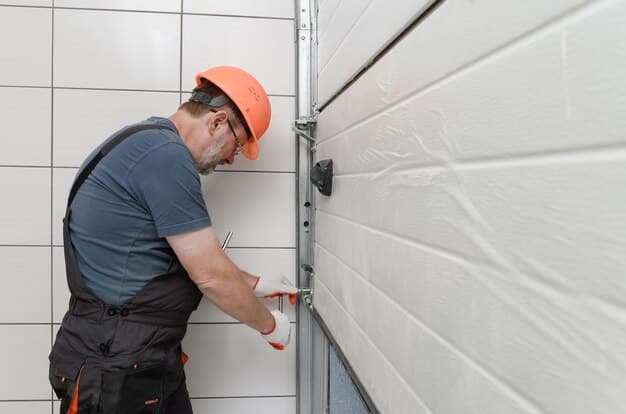
- Setting the Tracking Sections: Position the track brackets over the tracks at the top of the jamb and the bottom of the header. Ensure that the track is vertical, maintaining a 1/2″ clearance between its inner edge and the door throughout. Secure the track to the wall framing using 5/16″ x 1-1/2″ lags.
- Connecting the Track Sections: Connect the vertical track sections to the horizontal sections using curved corner tracks. Ensure that the flange of each track aligns evenly with the flag bracket, pointing away from the door. Tighten the lag screws appropriately to securely hold the track in place.
- Clamping the Bottom of the Bushes: Clamp the bottom of each guide to the top of the jambs, using locking pliers if necessary, to ensure that the guides remain rigid while being lifted evenly. Remove the pliers once the guide is securely attached to the jambs.
- Locking the Garage Door: Utilizing the lifting cable, attach one end to a peg at the bottom of the door track and the other to the top of the garage door frame. With the help of an assistant, raise the door until the cable runs alongside it.
- Replacing Hardware: Check for any loose or broken hardware on the garage door, including hinges, rollers, springs, and opener hardware. If you have an automatic opener, ensure the safety reverse feature is also replaced.
- Testing Infrared Sensors: If your garage door is equipped with built-in infrared sensors, test them to ensure proper functionality. If the sensor is not working correctly, it may need to be repositioned.